
Either you love or hate it, but you won’t’ be able to ignore it. Yes, that’s the power of Open source and Linux. In this tutorial, I will show you “How to install Linux on Windows 10 using WSL1“. and explain “How to update WSL1 to WSL2 kernel in Windows 10“, in case you already have WSL1 installed.
Have you ever imagined, Microsoft “The market dominator” will handshake with Open source and will support its development?
Whatever you never thought is now possible on Windows, In earlier days, if I need to run Rsync or any other Linux utility, Cygwin was the answer to most of the problems.
Nowadays there are options like VMware Workstation Player, Virtual box and many other Virtualization Software to install Linux as guest OS but Microsoft is thinking differently.
Microsoft has introduced WSL2 (Windows Subsystem for Linux) recently to make developer’s life easy. Now administrators and developers can run Linux commands or can do programming from windows 10 itself.
let’s understand a bit on WSL1 and WSL2
What are WSL1 and WSL2
WSL (Windows subsystem for Linux) was aimed to enable bash shell and core Linux commands/utilities for Developer and users. WSL2 (Windows subsystem for Linux version2) is an upgraded version of WSL1.
The main motto of introducing WSL2 was to increase the performance and to support full system call compatibility with a lighter VM. Installation of Docker, Editors, Core Linux utilities and Developer tools is now possible in WSL2.
A complete Linux kernel has been introduced by Microsoft and future upgrades will be in pipeline, the only major limitation of WSL is no GUI (although debatable), you have to deal with the command line.
Prerequisite to install WSL1 or WSL2
- WSL1/WSL2 both are supported on Windows 10 and Windows server 2019 64 bit version only. WSL1 requires Windows 10 Build 16215 or later and WSL2 is only available for Windows10 Builds 19041 or higher.
- Computer with Hyper-V or Virtualization support and enabled from Bios.
- 64-bit Processor with Second Level Address Translation (SLAT) for WSL2. For WSL1, SLAT is not mandatory and it works fine without it.
Steps to Install Linux on Windows 10 using wsl1
- Check your windows version
- Enable Linux subsystem for Windows 10 feature and restart.
- Download, Extract and install Linux distribution
- Provide username and password for user
- Launch your Distribution.
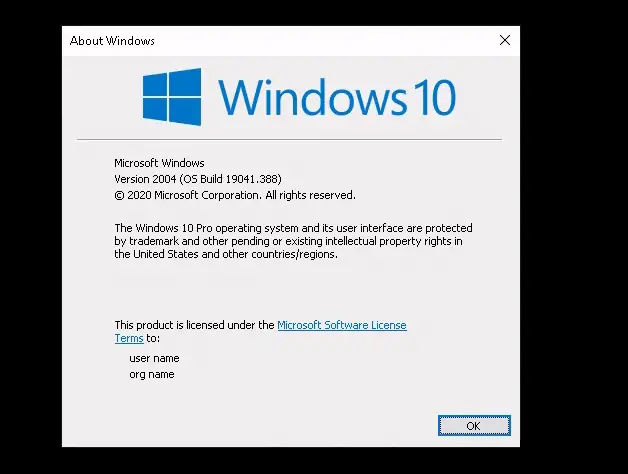
I will show you all steps on Windows 10 latest update 2004 with Ubuntu 20.04 on the Command line and Ubuntu 18.04 on GUI
Step1 – Check your windows version
Check your windows version using “Windows key + R” and type “Winver” in the run dialogue box.
then open “system information” by typing “msinfo” in the search bar for hardware information (32 or 64bit). Look for the information “System type”, it must be 64 bit.

Step2 – Enable Linux subsystem to deploy Linux on Windows 10
–> Enable windows subsystem for Linux (WSL) using PowerShell
Open Powershell window “Run as administrator” from the search bar and type this command to enable Linux subsystem for Windows 10 feature.
dism.exe /online /enable-feature /featurename:Microsoft-Windows-Subsystem-Linux /all /norestart
once the command is successful, restart your machine.
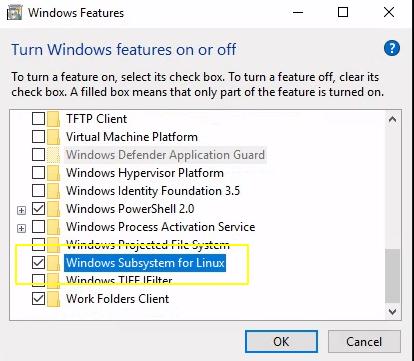
–> Enable windows subsystem for Linux using Graphical user interface (GUI)
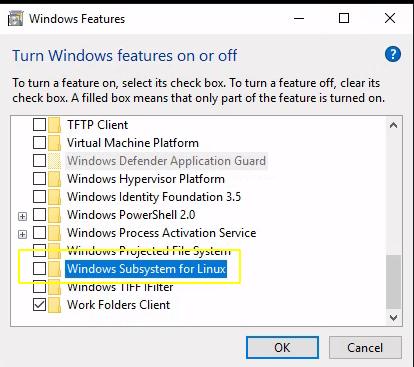
- Search for “Turn Windows Features on or off” in the windows search bar.
- Open and scroll down – Select the “Windows subsystem for Linux” box and click OK. Restart your system.
Step3 – Download your favourite Linux Distro
Download your favourite Linux distro from the command line or Microsoft store, I will download Ubuntu 20.04 from the Power Shell command line. Replace “wslubuntu2004” with your “distro name” in the command.
Check out the Microsoft site to download manually.
- Ubuntu 16.04 LTS
- Ubuntu 18.04 LTS
- openSUSE Leap 42
- Ubuntu 20.04 LTS
- SUSE Linux Enterprise Server 12 SP5
- SUSE Linux Enterprise Server 15 SP1
- Kali Linux
- Debian GNU/Linux
- Fedora Remix for WSL
- Pengwin
- Pengwin Enterprise
- Alpine WSL
Invoke-WebRequest -Uri https://aka.ms/wslubuntu2004 -OutFile Ubuntu.appx -UseBasicParsing
Go to your Downloads directory using the cd command, Rename your distro file in Powershell console.
For example
Ubuntu_2004.2020.424.0_x64.appx renamed to ubuntu.zip
Rename-Item .\Ubuntu_2004.2020.424.0_x64.appx .\Ubuntu.zip
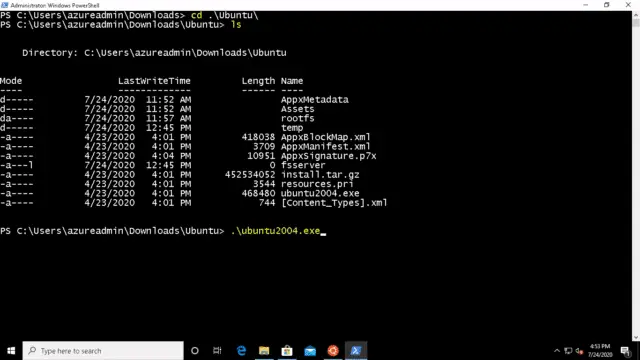
Extract zip file from Powershell (PS) window.
Expand-Archive .\Ubuntu.zip .\UbuntuNow change to the Ubuntu or distro directory using “cd” command and launch your “distro-name.exe“, “Ubuntu2004.exe” in my case.
Step4 – Provide your credentials
Once the installation will finish successfully, it will ask for a username and password for your Linux distro, so provide as per your preference.

Step5 – Validate your favourite Linux on windows 10
Search your “Distro name” in the Windows search bar and click “open“. and you will be in your favourite Linux prompt.

Steps to update WSL1 to WSL2 kernel in Windows 10
- Check your windows version
- Check for Second Level Address Translation (SLAT) using systeminfo command.
- Enable Linux subsystem for Windows 10 feature and restart your machine
- Enable the “VM (Virtual machine) platform” component and restart your machine
- Install wsl2 Kernel
- Set WSL2 as your default version
- Install your favourite distro from the Microsoft Store app and Launch
Step6 – Check your windows version and architecture
Follow the instructions of “Step1” to check the windows version and 64bit architecture.
Step7 -Check for Second Level Address Translation (SLAT) for WSL2
The 64-bit processor with SLAT is the key requirement for WSL2. Run the systeminfo command and verify. If you don’t have SLAT support, then WSL2 will not work in your system.
Step8 – Enable Linux subsystem to install Linux on Windows 10
Enable Linux subsystem for Windows 10 feature and restart your machine as per Step2.
Step9 – Enable virtualization
–> Enable virtual machine platform feature using PowerShell
Enable the “VM (Virtual machine) platform” component in the PowerShell console and restart your machine.
dism.exe /online /enable-feature /featurename:VirtualMachinePlatform /all /norestart
Output
Deployment Image Servicing and Management tool
Version: 10.0.19041.329Image Version: 10.0.19041.388
Enabling feature(s)
[==========================100.0%==========================]
The operation completed successfully.
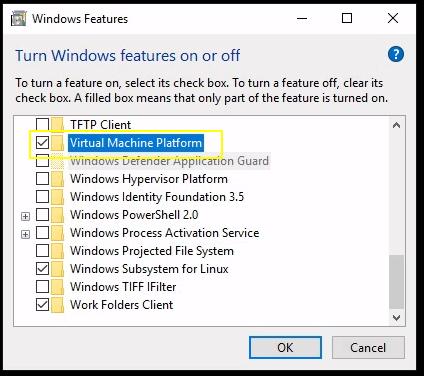
–> Enable virtual machine platform (Virtualization) feature using GUI
- Search for “Turn Windows Features on or off” in the windows search bar.
- Open and scroll down – Select the “Virtual machine platform” box and click OK. Now restart your machine.
Step10 – Run Kernel installer
Install WSL2 Kernel as WSL2 requires an update to its kernel component. Download kernel by visiting “https://aka.ms/wsl2kernel” or click here.
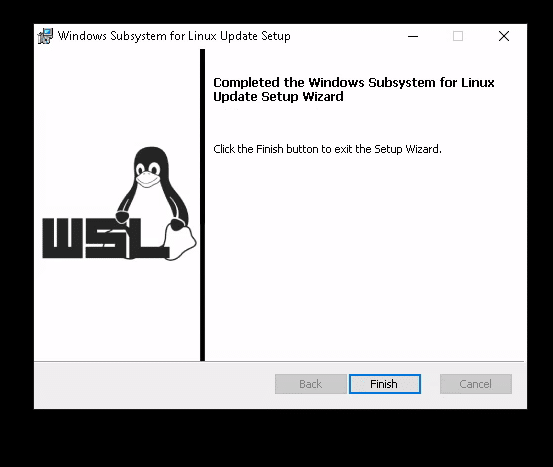
Once the download completes, run the “.msi” installer and complete the wizard.
Step11 – Change WSL version
Set WSL2 as your default version and check your version. Update from WSL1 to WSL2 may take some time to complete.
wsl --set-default-version 2
Note
If wsl –set-default-version ends up as an invalid command, just enter wsl –help and provide command as listed in help. If the –set-default-version is not listed, means it’s not supported by your windows10 build and try updating it to version 2004, Build 19041 or higher.
Step12 – Install Linux on Windows 10 using GUI
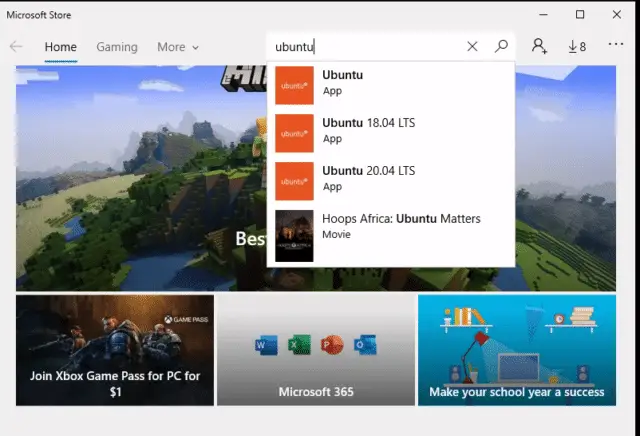
If you are working on the GUI (Graphical user interface), look for your favourite Linux distro from Microsoft Store, open “Microsoft store” from the search console
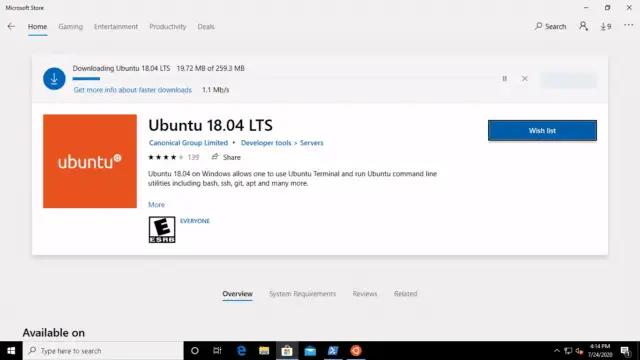
Click on Get to download and install your distro, mine is Ubuntu 18.04 in case of GUI
Click on Launch after download completes, it will ask for username and password for your Linux distro, so provide as per your preference.
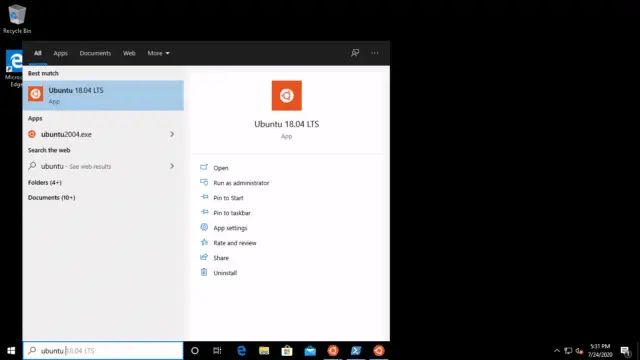
Search your “Distro name” in the windows search bar and click “open“. I can see both Ubuntu 18.04 and Ubuntu 20.04 as installed using GUI and Command-line respectively.
Enjoy Linux on Windows 10.

let’s check the WSL version for Ubuntu 20.04 and Ubuntu 18.04. It must be WSL1 for ubuntu 20.04 and WSL2 for ubuntu 18.04 after the upgrade.
wsl --list --verbose

How to Uninstall Linux Distro (WSL) from windows 10
Step13 – Open PowerShell and remove Distro package
Open PowerShell “Run as administrator” and run the below-mentioned command with your distro to list package name.
Get-AppxPackage *distro-name*
For Example Ubuntu in my case
Get-AppxPackage *ubuntu*
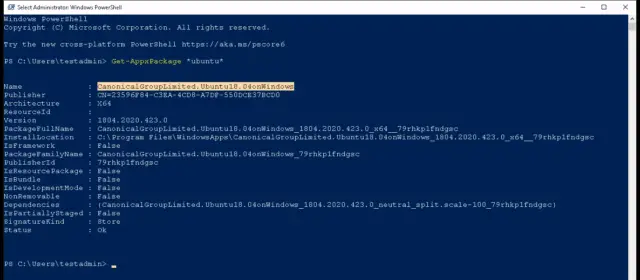
Make a note of “your distro package name” as highlighted in screenshot and Remove package with “Remove-AppxPackage” command.
Example
Get-AppxPackage "CanonicalGroupLimited.Ubuntu18.04onWindows" | Remove-AppxPackage
How to Disable WSL (Windows Subsystem for Linux) feature
Step14 – Disable Windows subsystem from PowerShell
Open Powershell, “Run as administrator” and execute the below-mentioned command, once you have completed distro package removal in step12.
Disable-WindowsOptionalFeature -Online -FeatureName Microsoft-Windows-Subsystem-Linux
Press “Y” to disable it.

It will restart your computer and you are done.
Step15 – Disable Windows subsystem for Linux from GUI.
- Search for “Turn Windows Features on or off” in the windows search bar.
- Open and scroll down – Remove the checkmark from the “Windows subsystem for Linux” box and click OK. Restart your system.
Note*
All the above-mentioned steps are applicable to “Install Linux on Windows 2019 using WSL” also.
Common errors and solution regarding WSL
1# Fix for Error: 0x80040306
This error may occur during installation because Microsoft doesn’t support legacy console. So, to resolve this issue, you have to disable the legacy console.
Open Command prompt by typing “cmd.exe” -> Open properties by right-clicking title bar -> Uncheck use legacy console in cmd properties – then click ok.
2# Fix for Error: 0x80040154
This error may occur after a windows update, which sometimes results in disabling the windows subsystem for the Linux feature. So, to fix this issue, you just need to follow step 2 of this tutorial.
3# Fix for “The referenced assembly could not be found”
You may face this error while enabling WSL optional features. This may occur due to the bad installation. So to resolve this, you may try updating Windows to fix it or you may need to reinstall windows 10.
4# Fix for “Error: 0x1bc while setting WSL default version 2”
This error may occur while executing step 10 of this tutorial. Follow step 9 of this tutorial (install kernel) to get this fix. If your CPU doesn’t support SLAT (second-level address translation). Then also, you won’t be able to upgrade to WSL2.
Video
Install Linux on Windows 10 using (wsl1 or wsl2) update 2020
Summary Note
I have shown you, “How to install Linux on Windows 10 with WSL1″, and How to upgrade your WSL1 to WSL2 with the kernel upgrade and set up WSL2 as your default version.
If you liked this article, please share it on your social media and comment, if you are facing any issue during installation.
Enjoy your favourite Linux on Windows, who knows in future, Windows will be provided as a subsystem to Linux.
Signing off with this thought 💡


Hi!
This is a very helpful post!
Suggestion – add setting the default version to the wsl1 section. Because my CPU does not have SLAT I can only use WSL1. Before finding out about WSL2 needing SLAT I had set the default version to 2. Until I set the default back to 1 nothing worked. So it is better to set it to be sure.
Can you please list the download name for the other distros like you did for Ubuntu 20.04 (wslubuntu2004.appx)?
Thanks!
Dave
Hello Dave,
Thanks for highlighting the SLAT compatibility issue. I have updated the required sections. Regarding your *.appx query. I was able to find the below-mentioned distro appx file names for you.
Ubuntu_2004.2020.424.0_x64.appx
Ubuntu_1804.2019.522.0_x64.appx
Ubuntu_2004.2020.424.0_ARM64.appx
Ubuntu_1604.2019.523.0_x64.appx
TheDebianProject.DebianGNULinux_1.3.0.0.AppxBundle
kali-linux-08-06-2019.appx
openSUSE-42_v1.appx
SLES-12_v1.appx
and distro name to append in download link “https://aka.ms/” are –
wslubuntu2004
wslubuntu2004arm
wsl-ubuntu-1804
wsl-ubuntu-1804-arm
wsl-ubuntu-1604
wsl-debian-gnulinux
wsl-kali-linux-new
wsl-opensuse-42
wsl-sles-12
Let me know if I can help you with anything else.